Essential Skills for Coastal DIY Landscaping
Essential Skills for Coastal DIY Landscaping
No dad around for lessons? Gain self-sufficiency with core skills for Cape Cod patios and gardens. If you're a young homeowner in Massachusetts looking to transform your outdoor space without hiring contractors for every project, you're not alone—and you're in the right place.
Coastal New England presents unique landscaping challenges that most DIY guides overlook. Sandy soil paired with salty air can take their toll on plantings, and winter weather means your hardscaping choices matter more than you might think.[3] Whether you're installing a paver patio, building a retaining wall, or establishing a low-maintenance garden, understanding the fundamentals will save you thousands of dollars and countless frustrating mistakes.
The good news? You don't need years of experience to master essential hardscaping basics and coastal landscaping techniques. Many Cape Cod homeowners are discovering that strategic DIY projects—from patio installation to walkway construction—deliver impressive results when you know what you're doing. Beyond the financial savings, there's genuine satisfaction in building something with your own hands that enhances your home's value and creates a space where family and friends gather.
This guide breaks down the core skills you need to tackle Cape Cod DIY landscaping confidently. We'll cover material selection, installation techniques, and the specific considerations that make coastal projects different. By the end, you'll understand not just the "how," but the "why" behind each decision—so you can adapt these skills to your unique property.
Basic Skills Every Coastal Homeowner Needs
Young DIY homeowners in Massachusetts tackling Cape Cod DIY landscaping skills start with mastering essentials like site assessment, soil prep, and Massachusetts hardscape basics to combat salt spray, wind, and erosion common on coastal properties[1][2]. These skills ensure resilient landscapes that enhance your home's value without needing pros right away. Begin by checking local permits from your Conservation Commission, especially near wetlands or dunes, as required under the Wetlands Protection Act—skipping this can halt projects[1]. Next, assess your site: note wind patterns, salty soil pH (often high from ocean spray), and erosion risks on slopes. Plant a buffer area of native deep-rooted grasses and shrubs like bayberry or beach plum between your yard and shore to filter pollutants and stabilize soil[1][2][3].
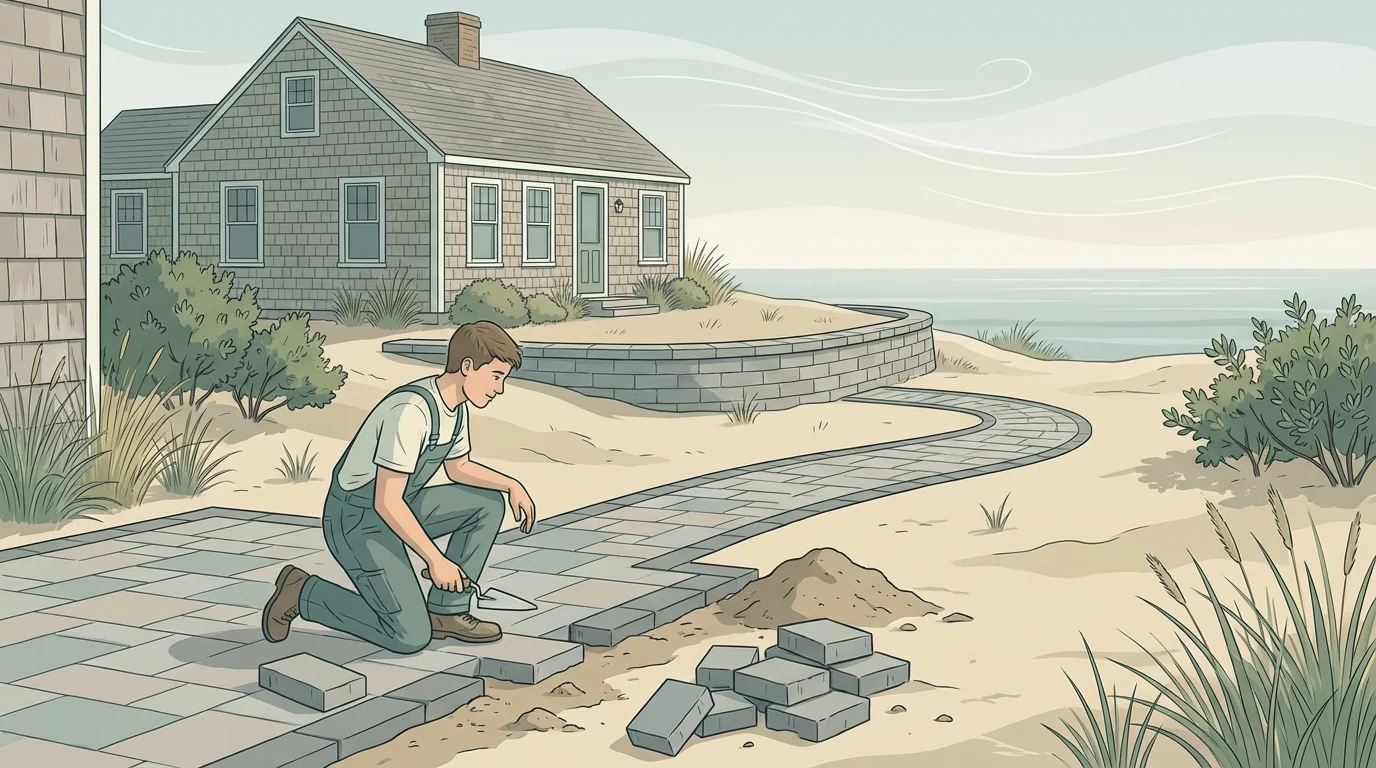
For coastal patio DIY and paver walkway tutorial, select permeable pavers or crushed seashells for drainage, vital in flood-prone areas[2][3]. Dig a 4-6 inch base of compacted gravel, level it with a tamper, and lay pavers in a simple herringbone pattern—use polymeric sand to lock them against shifting sands. A real Cape Cod example: Homeowners in Wareham created a 10x12-foot patio with pea stone borders and Adirondack chairs, blending beachy vibes while directing runoff away from the house[3]. Always install one designated access path with stepping stones to protect dunes[1].
Retaining wall DIY skills shine on sloped coastal lots. Use modular concrete blocks rated for wet conditions, stacking them with gravel backfill for drainage—aim for no taller than 3 feet without engineering. In a Massachusetts North Shore project, DIYers stabilized a bank with coir mesh erosion fabric topped by fescue grasses, preventing washouts during nor'easters[1][2]. Augment sandy soils with 2-3 inches of compost at planting, mulch root zones (avoiding dune faces), and water deeply but infrequently to build drought tolerance[1]. Incorporate windbreaks like evergreen hedges to shield tender plants[2]. These basic skills—from planting natives to sturdy hardscaping—turn challenges into low-maintenance beauty, saving thousands on pros while fitting coastal New England charm[3].
Soil Prep and Planting Mastery
Boost survival rates by amending sandy coastal soils with compost from leaves or manure, improving moisture retention for salt-tolerant species like red fescue over fragile bluegrass[1]. Dig holes twice as wide as roots, plant in fall or spring, and mulch 2-2.5 inches deep around bases—but skip mulch on loose dune sediments to preserve natural erosion processes[1]. Practical tip: Test soil salt levels with a cheap kit; if over 4 dS/m, prioritize beach grasses first[2].
Hardscape Installation Tips
For paver walkway or retaining wall DIY, grade for 2% slope away from foundations to handle heavy rains[2]. Rent a plate compactor for pro-level bases, and edge with driftwood or rope for Cape Cod style[3]. Example: A Plymouth homeowner's 20-foot walkway used permeable pavers, reducing puddles and adding nautical flair with seashell accents[3]. Always verify easements to avoid neighbor disputes[1].
Tool Essentials and Safe Usage for Cape Cod DIY Landscaping
For young DIY homeowners in Massachusetts tackling Cape Cod DIY landscaping skills, having the right tool essentials is key to success in projects like coastal patio DIY, paver walkway tutorials, and retaining wall DIY. Start with basics like shovels (round-head for digging, square-head for scooping), tampers for compacting soil or pavers, landscape rakes for leveling gravel, and wheelbarrows to haul materials—essentials stocked at local spots like Ace Hardware and T.W. Nickerson on Cape Cod[1][2]. For Massachusetts hardscape basics, add sledgehammers for breaking stone and pruning tools like loppers for clearing brush, ensuring efficiency in sandy coastal soils[3][5].
Safety first: Always wear gloves, safety glasses, and steel-toed boots to protect against flying debris during paver walkway installs. Inspect tools before use—check shovel handles for cracks and ensure tamper heads are secure—to avoid accidents on uneven terrain common in New England backyards[1][4]. A real example: When building a retaining wall DIY in Plymouth, MA, use a level and string line with your tamper to prevent shifts from freeze-thaw cycles; improper leveling led one homeowner's wall to lean after winter[4]. Store tools dry to combat coastal humidity rust, and sharpen blades regularly for clean cuts that reduce strain[5].
Invest in quality from suppliers like Mass Landscape Supplies for rentals if you're testing small landscape items before buying[6]. With these tool essentials, your coastal patio DIY will transform a simple yard into a durable outdoor haven.
Safe Handling Tips for Hardscaping Tools
Master safe usage by starting small: For a paver walkway tutorial, grip the shovel low and bend at the knees, lifting with legs to avoid back strain—crucial for heavy Cape Cod sand mixes[1][3]. Use ear protection with sledgehammers on retaining wall DIY; swing from the hips, not arms, and clear the area of bystanders. Practical tip: Wet soil slightly before tamping to minimize dust inhalation, a must in windy coastal areas. Old Station Landscape Supply experts recommend marking tool storage zones to prevent trips[4]. Practice on scrap materials first for confidence.
Local Sourcing for Massachusetts DIYers
Shop Massachusetts hardscape basics at Jed's Hardware in Holden or Coastal Equipment in Marstons Mills for shovels, brooms, and snow shovels that double for year-round use[7][8]. T.W. Nickerson offers Cape Cod landscape tool sales with special orders for tampers ideal for coastal patio DIY[2]. Rentals from Mass Landscape Supplies save upfront costs for big jobs[6].
Building Durable Patio and Walkway Foundations for Coastal New England Homes

Creating a paver walkway or patio in Massachusetts requires understanding how coastal weather—salt spray, freeze-thaw cycles, and heavy moisture—affects your hardscape. The foundation is everything. Unlike inland projects, coastal New England homes need extra attention to drainage and base preparation to prevent frost heave and water damage that can destroy pavers within a few seasons.
Start by calling 811 before any excavation to locate underground utilities[3]. Mark your layout using mason's line and stakes placed 18 inches outside your planned area[2]. For walkways, plan a minimum width of 2 feet for one person or 4 feet for two people to walk side-by-side[3]. The critical step is establishing proper slope—plan for approximately a 1/4-inch drop per foot to direct water away from your home[1]. This is especially important in coastal areas where standing water accelerates deterioration.
Excavate to a depth of about 7 inches from where the top of your pavers will sit[2]. Install a course sub-base material like crushed concrete roadbase or 3/4-inch limerock (about 6 inches deep), then add a paver base of crushed stone or screenings[2]. Compact each layer thoroughly using a hand tamper or rented plate compactor—proper compaction prevents settling and keeps your walkway intact through New England winters[1][4].
For the leveling sand layer, use 1-inch PVC pipe as guides laid across your excavation[1]. Pour sand over the pipes, then screed it flat using a straight 2-by-4 board, maintaining your slope throughout[1]. This uniform sand bed is your final adjustment layer for getting pavers perfectly level.
Laying Pavers Like a Professional
Begin at a 90-degree corner or against your house, working outward[2]. Leave a 1/4-inch gap between blocks and use a rubber mallet to set each paver firmly[1][6]. Check levelness periodically and adjust by adding or removing sand underneath[1]. Install edge restraints with spikes every 12 inches to prevent pavers from shifting[1]. For cuts, use a circular saw with a concrete blade, making multiple passes rather than forcing through in one cut[1].
Finishing Touches for Coastal Durability
After laying all pavers, sweep joint sand into the gaps and compact the entire surface with a plate compactor[2]. This final step locks everything together and provides drainage while preventing weeds—essential for maintaining your coastal hardscape investment through salt-laden winters.
Troubleshooting Common New England Issues
Young DIY homeowners in Massachusetts tackling Cape Cod DIY landscaping skills often face unique coastal challenges like fierce winds, salt spray, heavy rains, and rocky soils that test even the sturdiest Massachusetts hardscape basics. Mastering troubleshooting keeps your coastal patio DIY or paver walkway tutorial projects thriving through New England's brutal winters and stormy summers. Common culprits include soil erosion, standing water, and salt damage, but with practical fixes, you can turn headaches into resilient features. For instance, on a sloped Cape Cod yard, heavy nor'easters can wash away topsoil around a new retaining wall DIY, leaving bare patches and unstable pavers—yet simple interventions like dry creek beds restore control.[1][2][3]
Start by inspecting your site: probe for low spots after rain and check for white salt crusts on leaves or soil, signs of ocean spray dehydrating plants in zones 4-7.[2][4] Prioritize erosion control with salt-tolerant plants like Creeping Juniper or Sea Thrift, which form dense mats to anchor rocky coastal soil against wind and waves.[2] For a real-world example, a Massachusetts homeowner near Plymouth built a dry creek bed using local boulders and river rock along a paver walkway—it channels stormwater effectively, preventing washouts during nor'easters while adding a natural, beachy vibe.[1][3] Pair this with permeable pavers for your coastal patio DIY, allowing water to infiltrate rather than pool, reducing hydrostatic pressure on bases.[1]
Address standing water by removing thatch buildup—use a dethatching rake in spring to clear grass clippings blocking drainage, then re-grade gently with a landscape rake for 1-2% slope toward natural outlets.[1][3] In sandy Cape Cod soils, amend with compost to boost water retention without compacting.[4] Always test retaining wall DIY stability: backfill with gravel for drainage, and cap with Northern Bayberry shrubs for low-maintenance erosion hold.[2]
Tackling Salt Spray and Poor Drainage
Salt spray stresses plants by drawing moisture from roots, common on exposed Massachusetts coasts—flush soil with fresh water weekly during winter storms, and choose natives like Beach Plum or Rugosa Rose with waxy leaves.[2][4] For drainage woes in a paver walkway tutorial, install French drains: dig 12-inch trenches, line with fabric, add perforated pipe and gravel, then cover—perfect for boggy front yards post-downpour.[1] Example: A DIYer in Hyannis fixed a flooded coastal patio by swapping impermeable pavers for pervious ones, cutting standing water by 70% and easing maintenance.[3]
Building Resilient Hardscapes
For retaining wall DIY on eroding slopes, use stacked natural stone (no mortar for flexibility in freeze-thaw cycles), anchoring with geogrid fabric every third course.[2] In one Cape Cod project, timber walls failed from rot, but switching to granite blocks with gravel backfill lasted seasons.[2] Mulch planting beds with crushed shells to mimic beaches, slowing runoff while complementing Massachusetts hardscape basics.[2][4] These skills ensure your coastal projects endure, saving time and money for enjoyable summers by the sea.[1][2]
Conclusion
Mastering essential skills for coastal DIY landscaping in New England empowers you to craft a resilient, beach-inspired oasis that thrives against salty sprays, sandy soils, and fierce winds. Key takeaways include selecting salt-tolerant plants like hydrangeas, beachgrass, little bluestem, lavender, and rosemary to stabilize dunes and add texture; amending sandy soils with compost, loam, or peat moss for better moisture retention; and incorporating hardscape elements such as crushed seashells, driftwood borders, granite pavers, and Cape Cod-style picket fences for low-maintenance charm[1][2][3][4]. These choices not only combat erosion and drought but create an authentic seaside vibe with ornamental grasses rustling in the breeze and nautical accents like Adirondack chairs[1][4]. Start small: assess your soil, sketch a plan prioritizing natives for sustainability, and plant in fall for root establishment. Your next steps? Gather tools, source local plants, and build a simple windbreak or path this weekend. Ready for a stunning coastal retreat? Dive in today—your dream yard awaits, or connect with local pros for hands-on guidance[1][8].
Frequently Asked Questions
What are the best salt-tolerant plants for coastal New England DIY landscaping?
Opt for hydrangeas (like Bigleaf for acidic soils and shade), beachgrass, little bluestem, switchgrass, lavender, rosemary, bearberry, and lowbush blueberry. These natives and Mediterranean herbs endure salty air, sandy soils, and winds while preventing erosion and adding beachy texture. Plant in amended soil with morning sun for hydrangeas, and use grasses for natural movement[1][2][3][4].
How do I amend sandy coastal soils for better DIY landscaping results?
Mix one-third native soil, one-third compost or loam, and one-third peat moss to boost water and nutrient retention—skip perlite in sandy areas for drainage balance. Add crushed shells as mulch for a beachy look and erosion control. This creates a thriving base for salt-tolerant plants like ornamental grasses and shrubs[1][2].
What hardscaping materials create authentic coastal New England style on a DIY budget?
Use crushed seashells for paths and driveways (great drainage, low-maintenance), driftwood or sea-rounded boulders for borders, granite pavers, and wooden dune fences. Pair with Adirondack chairs in driftwood white and nautical details like rope railings for Cape Cod charm without high costs[1][3][4].
References
- Source from jmmentolandscapedesign.com
- Source from www.shrubhub.com
- Source from www.whittenlandscaping.com
- Source from www.communityschoolcct.org
- Source from www.gardenista.com
- Source from jjmaterials.com
- Source from apcc.org
- Source from www.youtube.com
- Source from www.capecod.gov
- Source from www.mass.gov